

GIS Tool: Shadow Impact Analysis
/
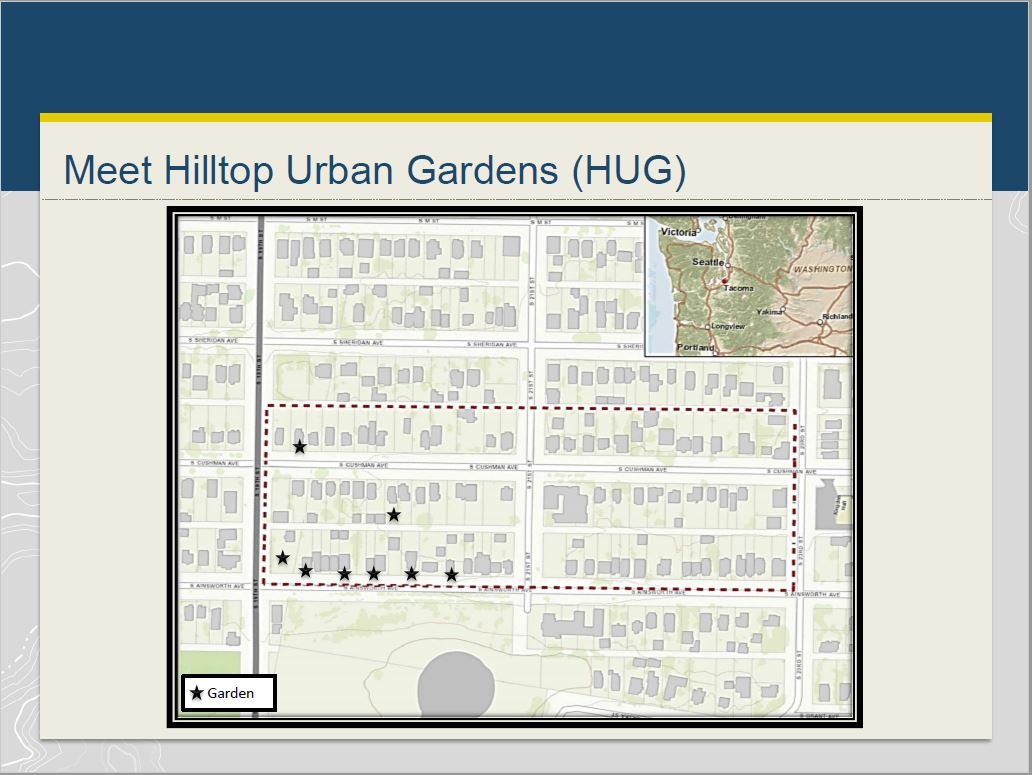
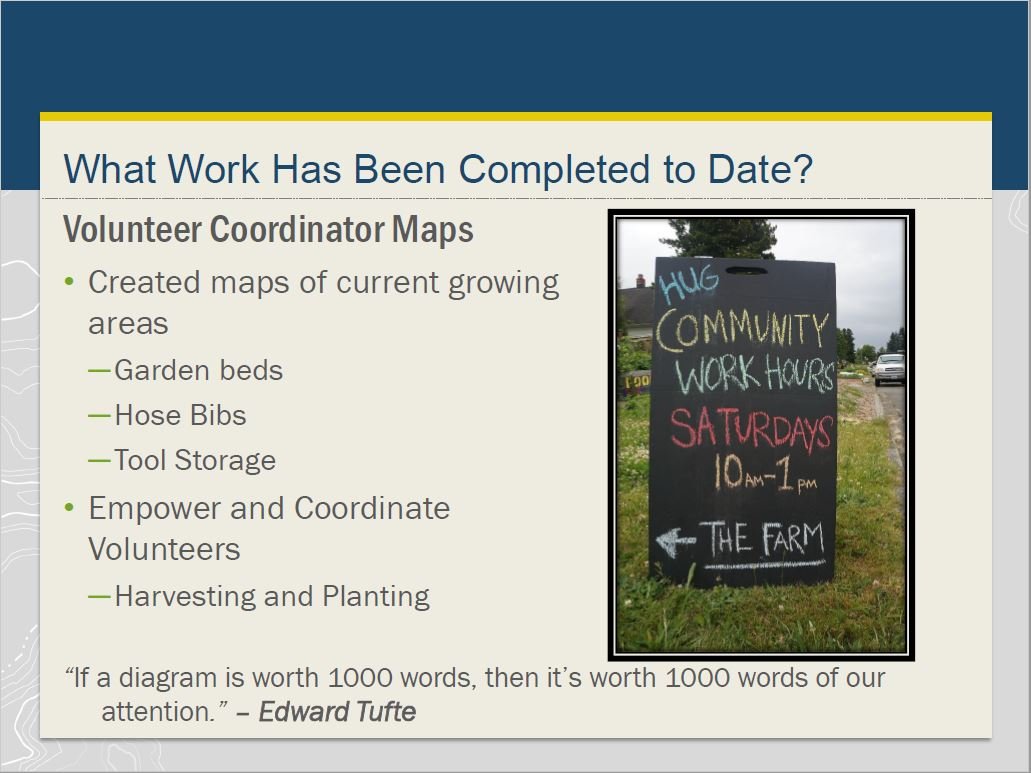
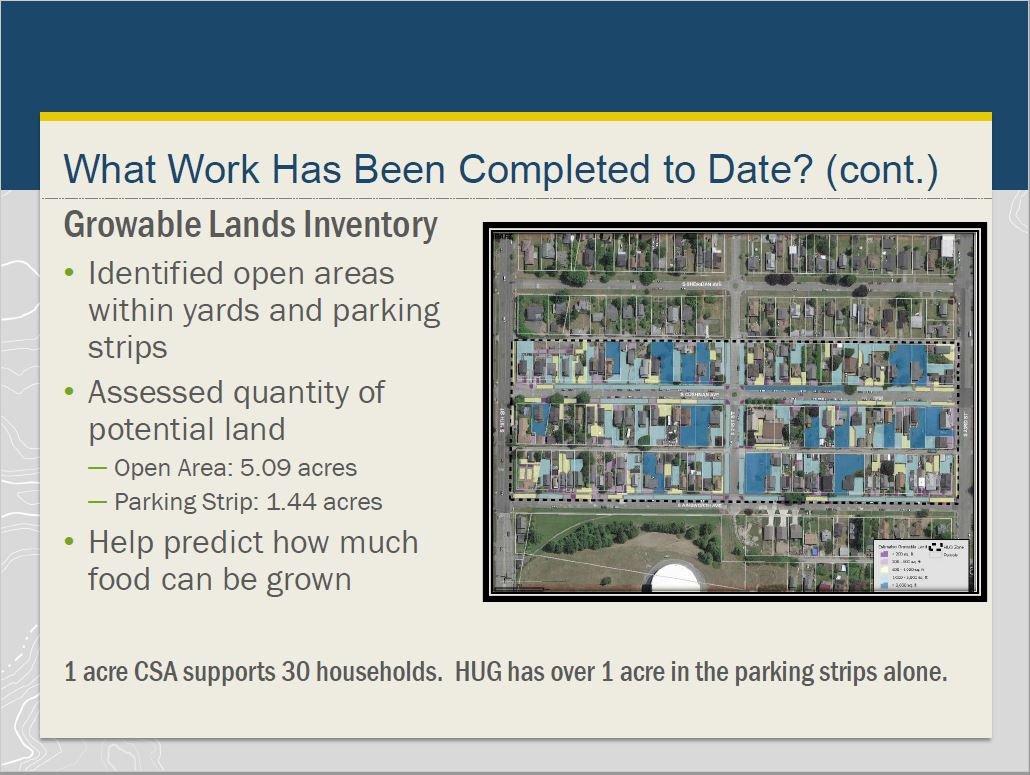
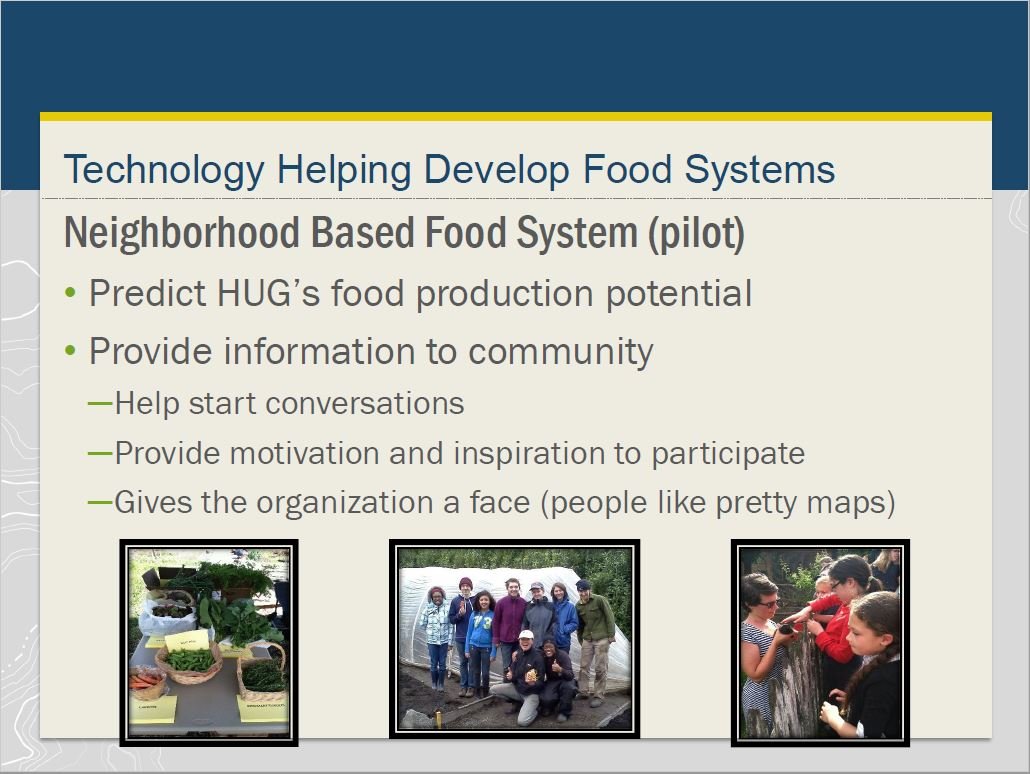
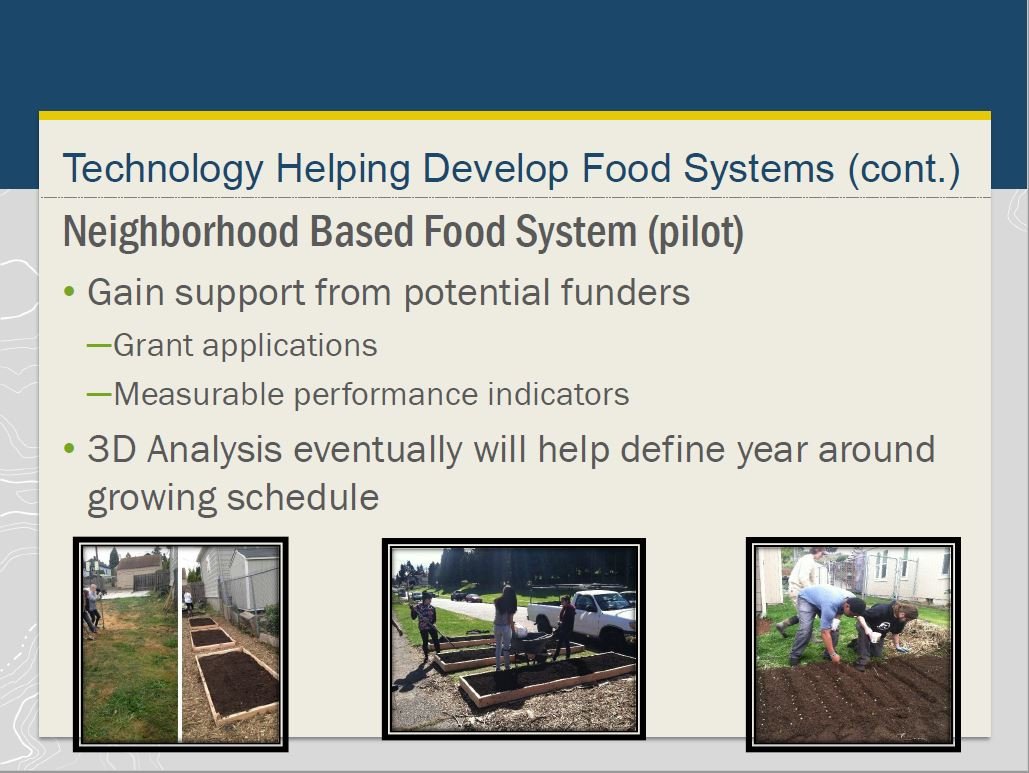
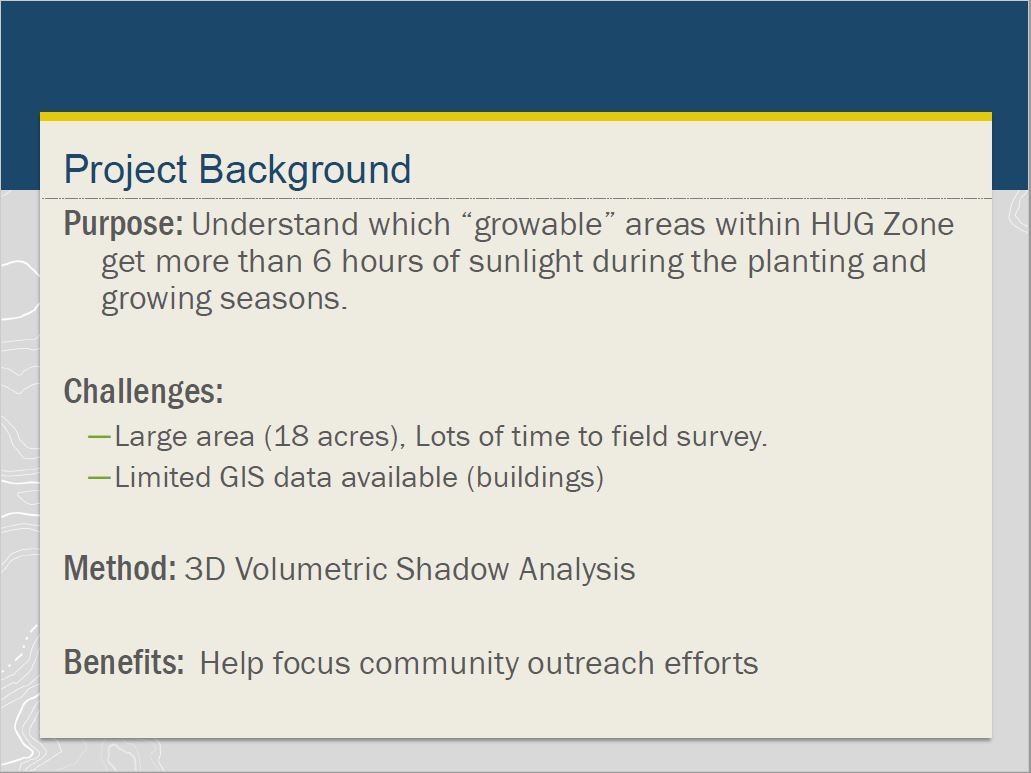
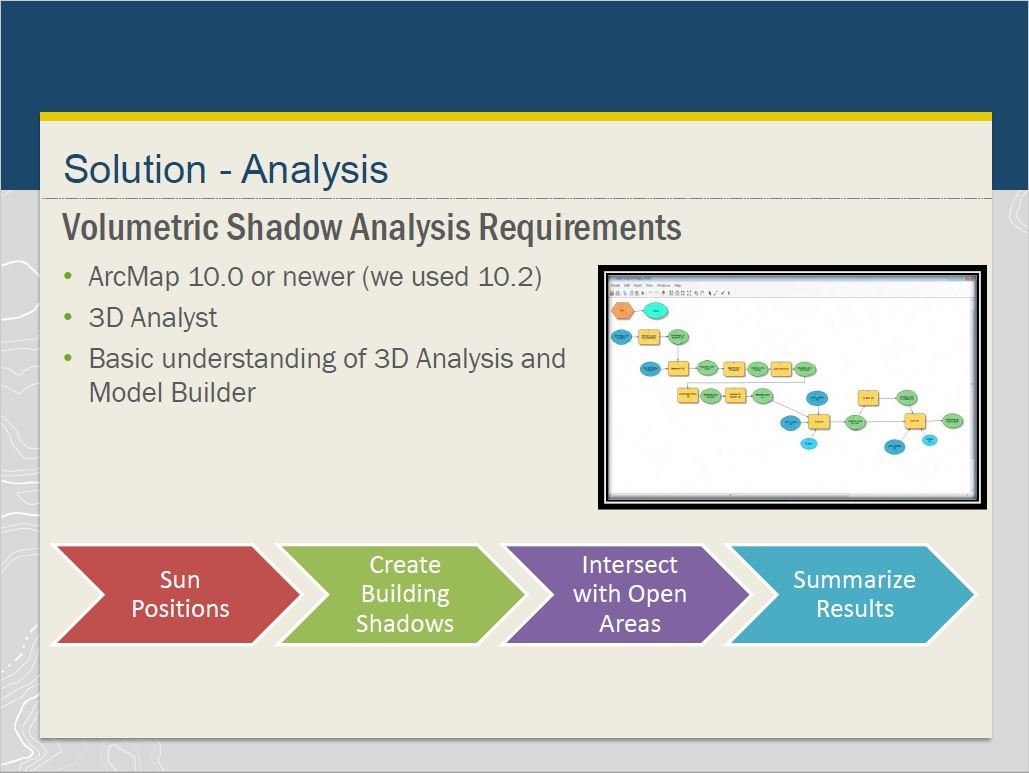
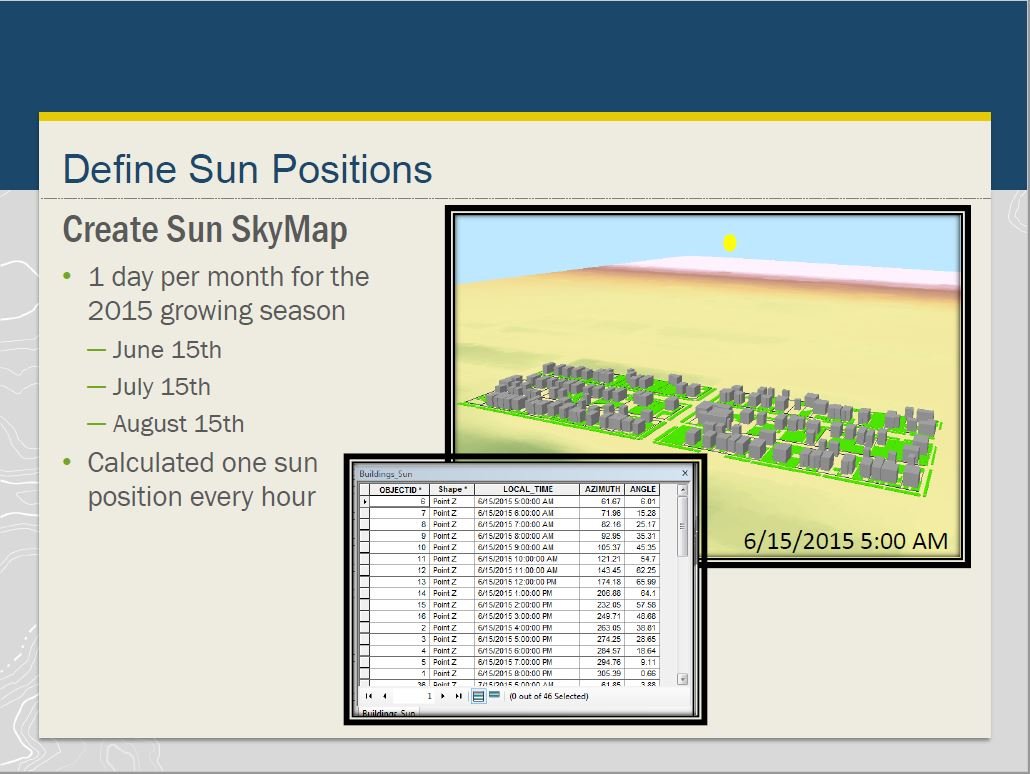
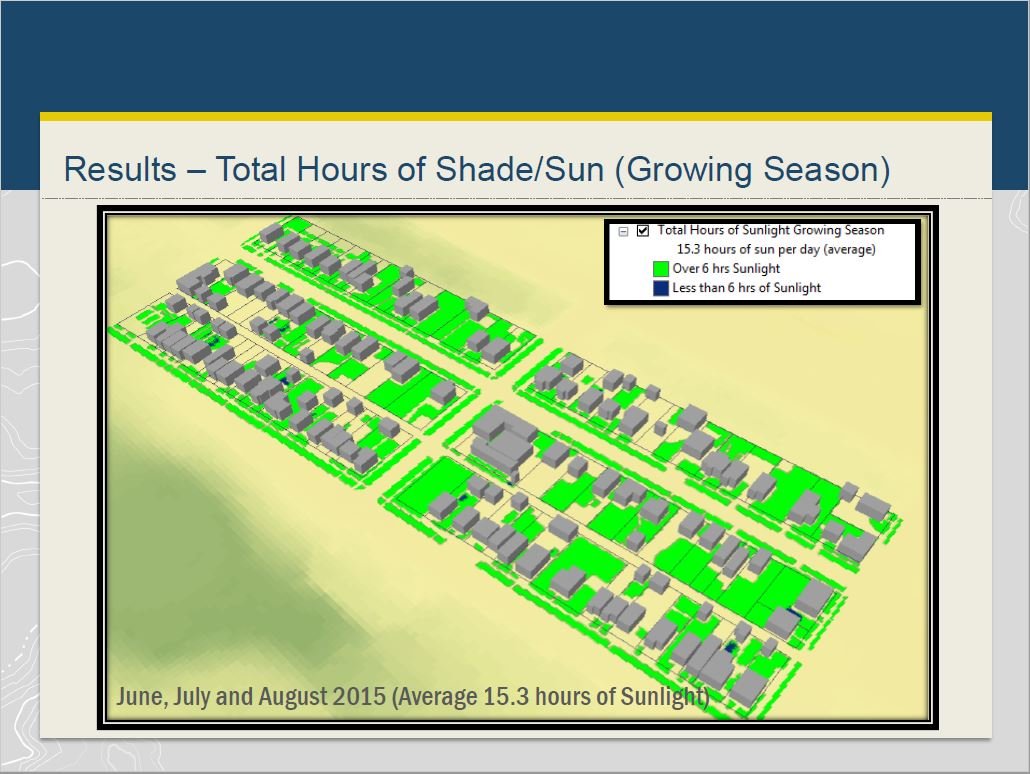
In Season 2, Episode 5 of the podcast, we interview Tonya Kauhi about some volunteer work she did with an urban gardening organization. She talked about analyzing hours of shadow and sunlight for potential areas for new urban gardens in a neighborhood in Tacoma, and when she completed the analysis in 2014 she used the 3D Volumetric Shadow Analysis tool in ArcGIS Desktop version 10.2. Tonya presented on her volunteer work at the 2014 Esri User Conference in San Diego. A copy of her slides can be found at the end of this blog post.
The current tool equivalent to what Tonya used back in 2014 is the Sun Shadow Volume tool in ArcGIS Pro, which is available with a 3D Analyst license. However, Esri has been creating many tools over the past several years to make things much easier on users. For more on that, keep reading!
Baseline Data Layer Needs

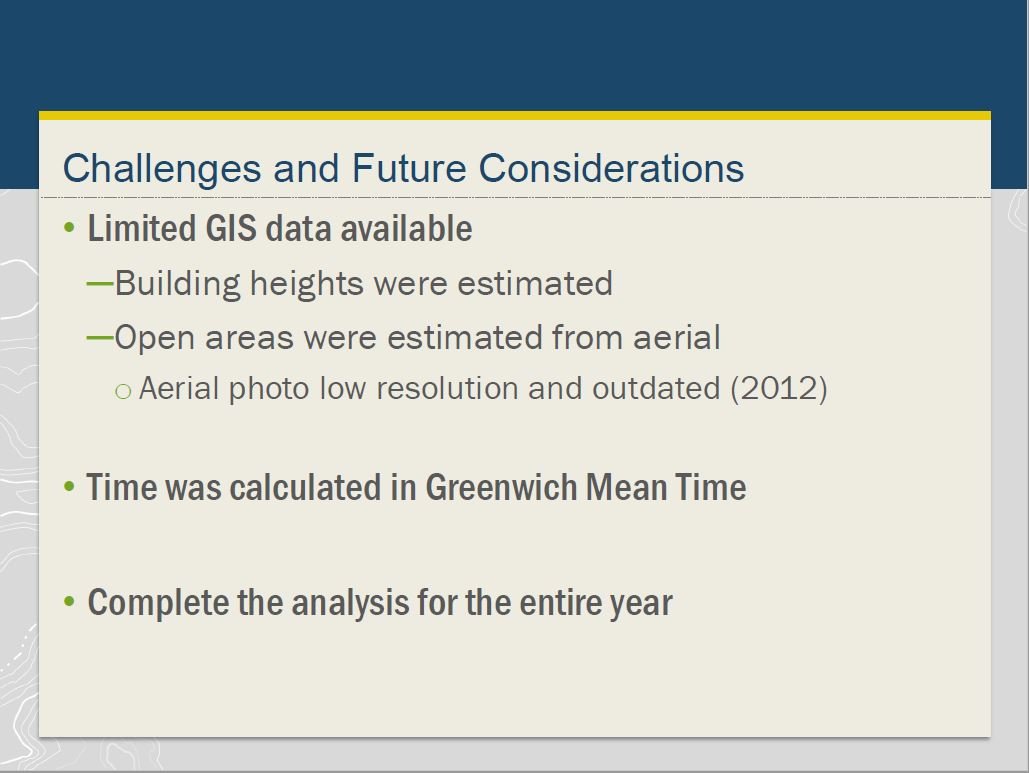
Before beginning any of these analyses you will need data layers such as buildings and trees with height information, as well as your defined area of interest. You can perform a search in ArcGIS Online (you can create a free personal account if you don’t already have access) to see if your local government has created and shared any 3D data. Even if the data shared appears to be 2D, it may have a height field which you can use to create a 3D model. If you can’t find anything there, look to see if your local government (City or County) has an open data site where you can potentially download data. If this fails, you can search for LiDAR data for your study area and create a 3D model from that information. You can find existing LiDAR data for Washington here, Oregon here, and Idaho here. If no data exists for your study area, you may have to create it by digitizing features and estimating heights.
ESRI’s Shadow Impact Analysis
Once you have your 3D data and your area of interest defined, you can start your analysis. Esri provides several solutions now, which include ArcGIS Pro tasks which walk you through a process. One of these is Shadow Impact Analysis, which is part of the Development Impact Analysis Solution. You can find out how to get the solution, requirements, and deploy it at this link, and you can watch a video tutorial about it. The full solution is intended to let users see the impact of potential development, but it’s also very useful for modeling current conditions. If you don’t have potential development you want to model, simply skip those steps!

Don’t worry, the tasks walk you through everything! Watch the video tutorial if you’re feeling overwhelmed.
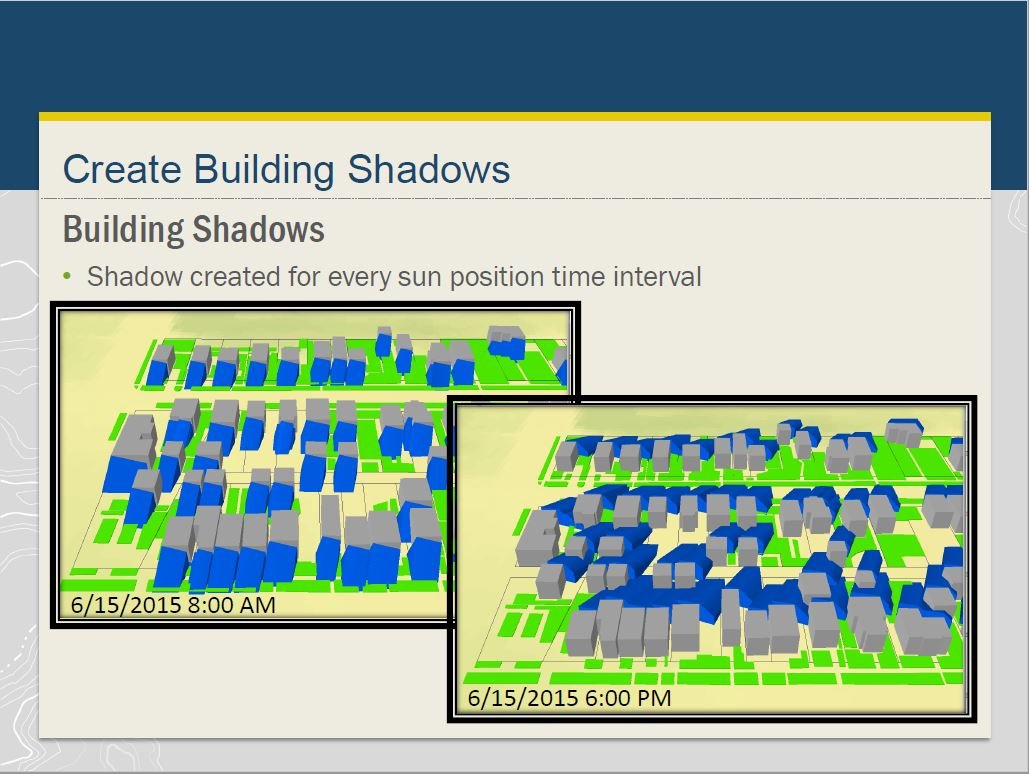
In the Shadow Impact Analysis download, you can run the Check Shadows task to visualize shadows for existing conditions and even create an animation you can export out to a movie. If you don’t care as much about seeing an animation, you can skip this task. This task walks you through creating sun positions, setting scene illumination, enabling time on the sun positions layer, and setting the time slider. The latter three steps allow you to play an animation of shadows throughout the time period you created the sun positions for and let you visualize where the shadows will be.
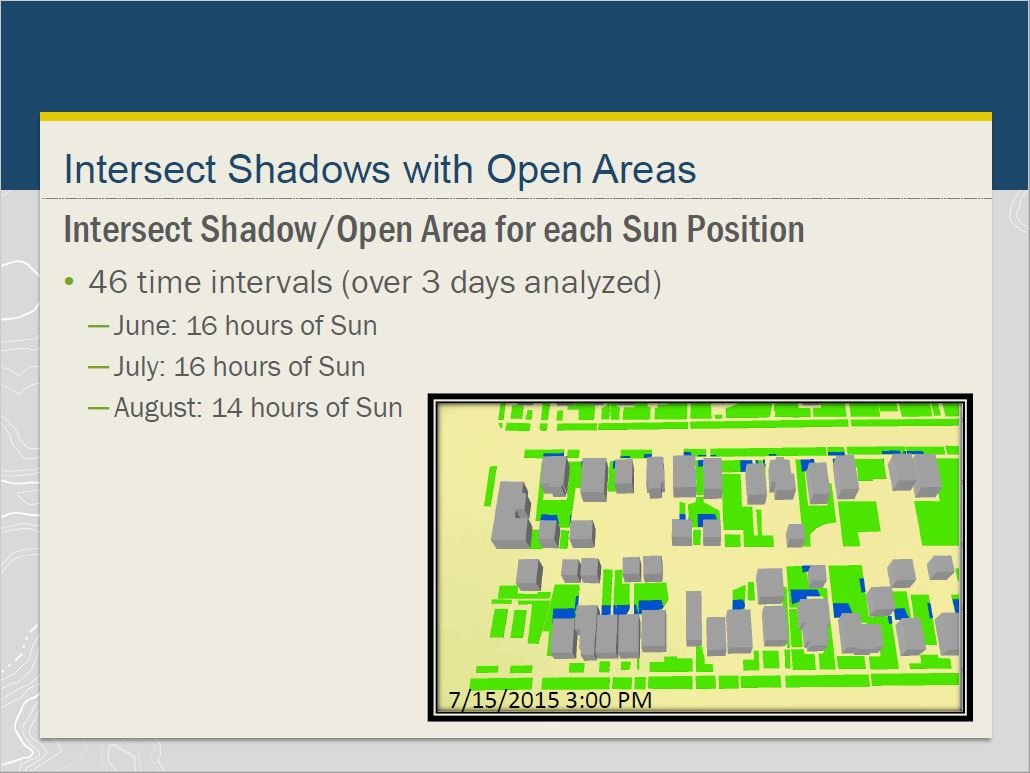
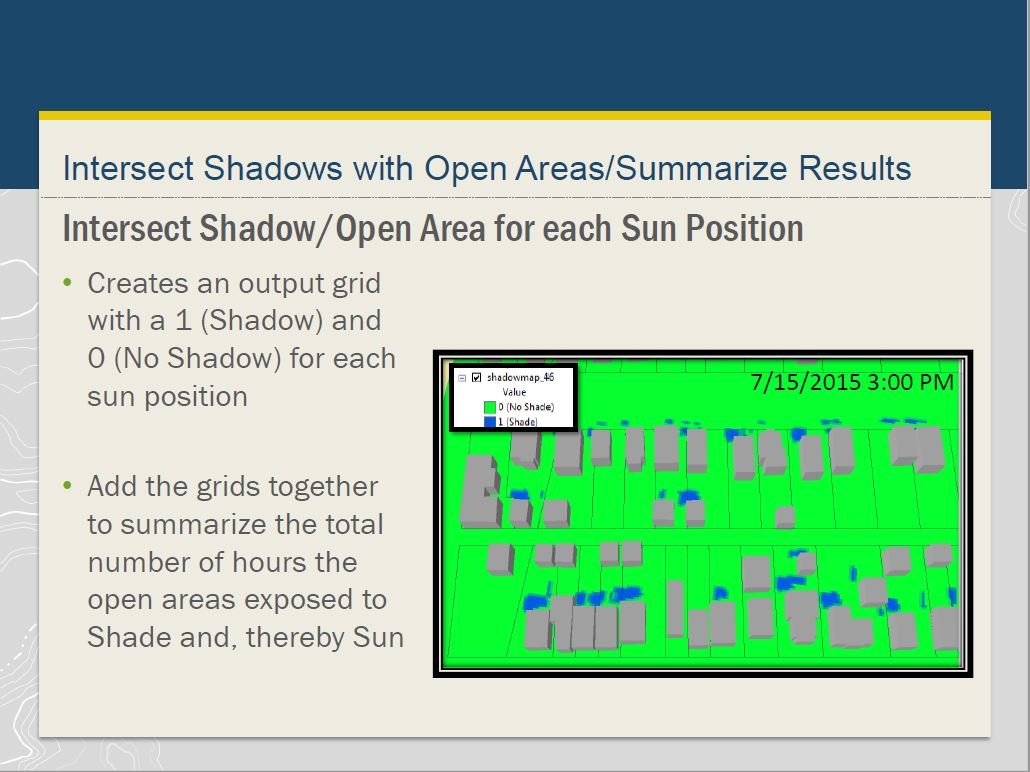
If you want to get right into analysis, skip to the Evaluate Shadows task. This task walks you through creating sun positions (if you ran the Check Shadows task you can simply copy the layer you created there, no need to recreate it here), and creating shadow panels. The shadow panels give you the hours of shadow cast by your input features (buildings, trees, etc.) onto your area of interest. The area of interest is split into a raster layer with each cell having a value for hours of shadow. You can skip the rest of the steps in this task unless you want to evaluate the impacts of potential new obstructions such as how your garden would be affected by putting up a new fence or planting a new tree. If you do run the third step in the task (compare shadows), the result is a layer indicating the number of hours of extra shadows if the new feature is installed. The final step in this task walks you through calculating shadow areas, which identifies areas that will get more than a user-specified number of extra shadow hours if the proposed new feature is installed. Again, you can skip this step if this doesn’t interest you.
The final task included in the Shadow Impact Analysis download is the Publish Shadow Results task, which walks you through publishing your results to ArcGIS Online. Unless you want to share your results with others, you can skip this task.

View of what just happened in my mind when I wrote the word “math”
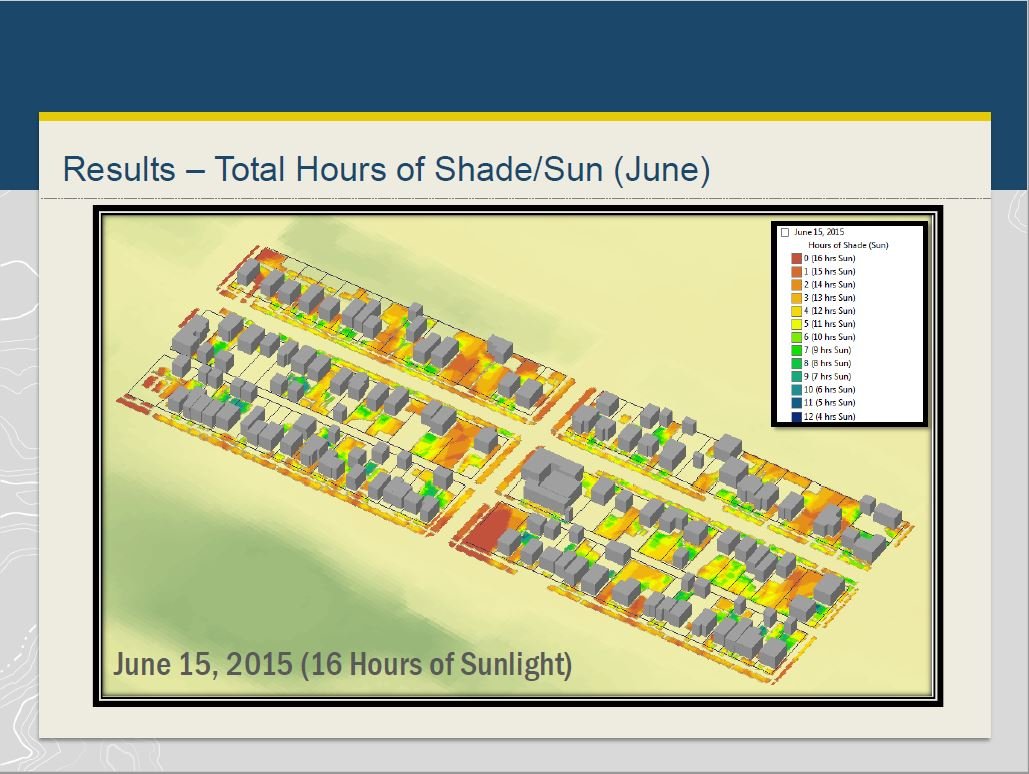
The results of the analysis described above give you hours of shade for a particular area of interest. If you are looking for hours of sunlight you will have to do some extra steps or potentially use math. If you want to get complicated you can use the Solar Radiation toolset (requires a Spatial Analyst license) to calculate the amount of solar radiation for a particular site, or you can keep it simple and do a web search for the amount of daylight hours at a certain location and subtract hours of shadow from your model for a few specific dates representing growing seasons to determine if your potential garden site gets enough light.
I hope this blog has given you some ideas on ways to use the Shadow Impact Analysis tools to determine your ideal gardening spot!
Tonya's esri conference slides

Find out how Jen the Magical Mapper has been doing on her Plastic Free July challenge!